
Day 3 Pinspiration - Click here for a link to my pin.

Gotta give credit where credit is due - this pin came from Who Made That Bow Designs.
My Version - Vintage Coral Headband adorned with Pearls
I have to admit I'm pretty darn proud of myself for this one...it is perfect! My sister (who has a little boy) has been begging me to take some REALLY girly pictures of Addison, so I found one of those cute rompers but couldn't find a matching headband. So crafty (not really) me, decided to attempt to make one of my own. I think it turned out super cute!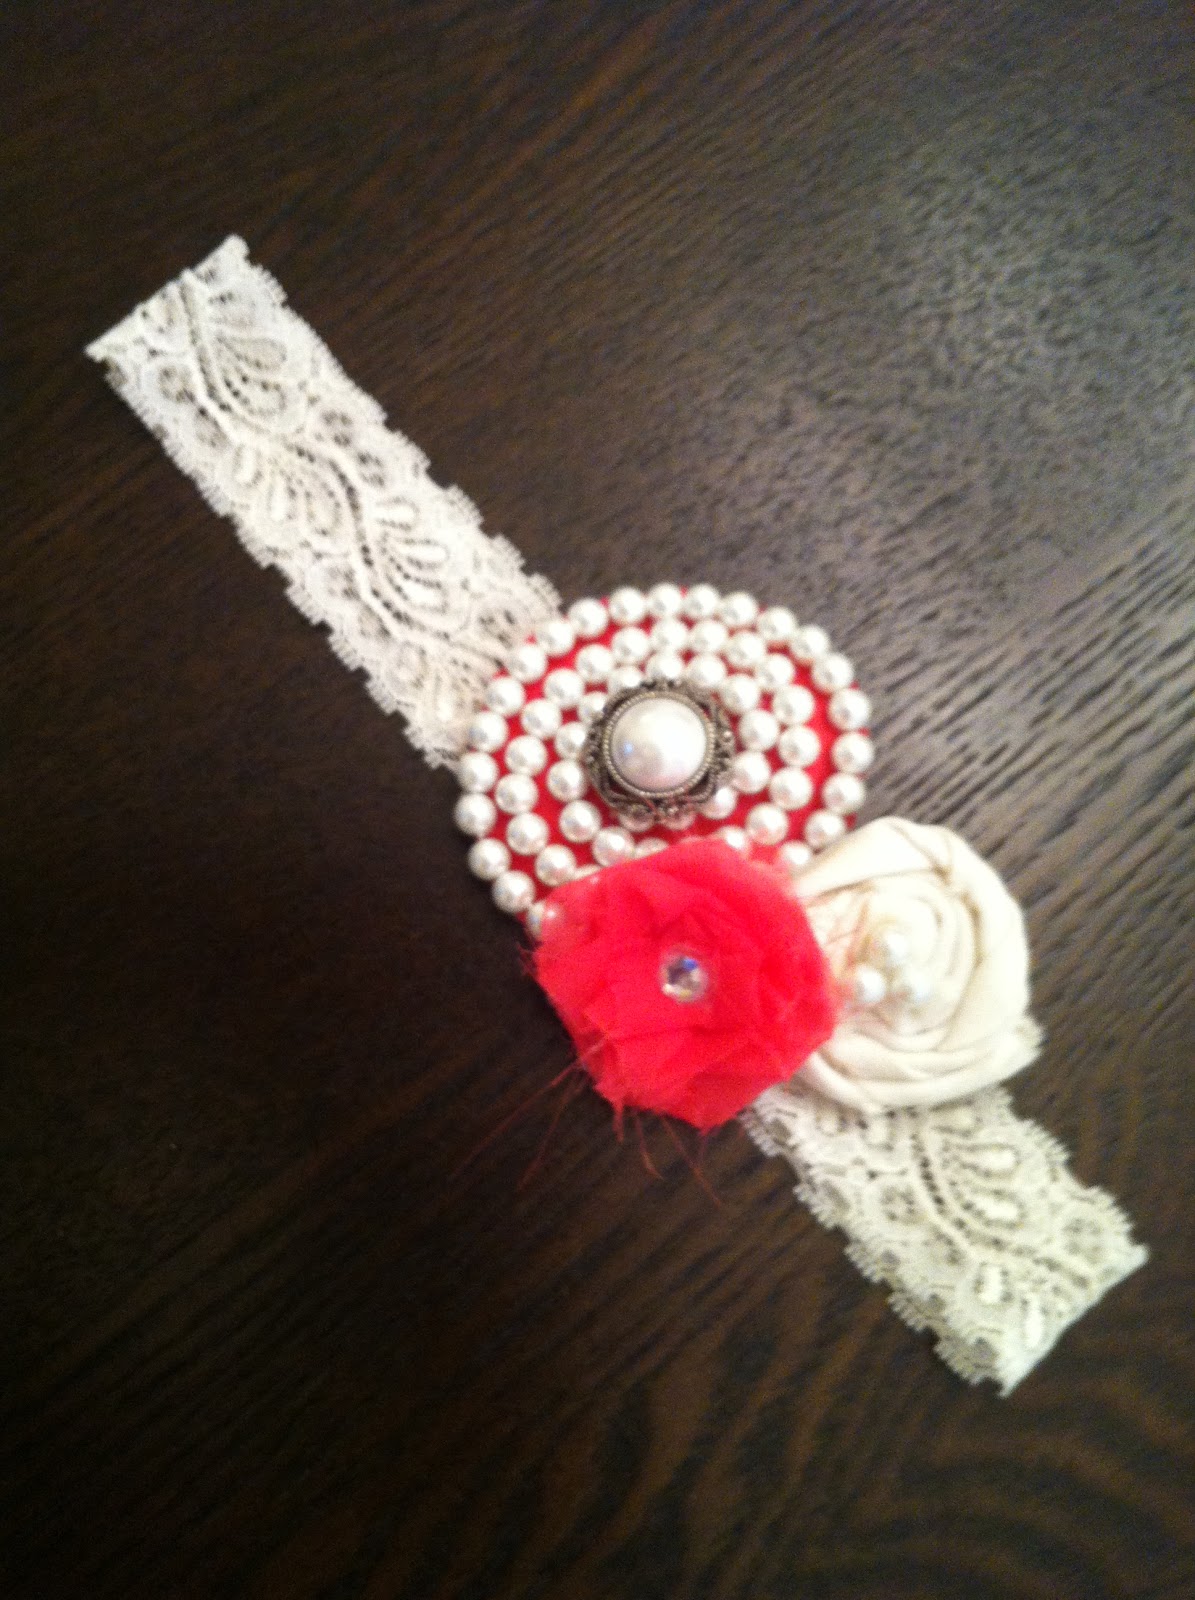
I apologize that there are no pictures from the creation but it would have been the blind leading the blind. I tried a million different things and they were all trial and error. If there are a lot of you that comment that you want a picture DIY tutorial, I will make another one and do a step by step tutorial.
Supplies:
- Stretch Lace
- Needle and Thread
- Pearl Strand
- Felt
- Pearl String
- Pearl & Rhinestone Embellishments
- Hair Clips
- Tea Bags
- Chiffon
- Cotton
- Hot Glue Gun
Steps:
Lace Headband
1. Cut your stretchy lace to fit your kiddo's head. Put the ends together and sew it until it holds securely. I could not find off white lace, so I ended up tinting it with tea. I boiled tea bags then dipped the lace in until I got the color I liked and let it dry.
Pearl Embellishment
1. Cut a circle out of the felt (I used the bottom of a Nestle Water Bottle). Cut the same size circle from the chiffon.
2. Curl the Pearl Strand around the edge of the circle and sew in place (I used the string that the pearls were strung on to secure them to the felt and chiffon). Continue with the next few strands leaving enough room in the middle for one button.
3. Hot Glue a large button in the center.
4. Turn over and attach your hair clip using hot glue. Let it dry completely.

Chiffon Rosette
1. Cut out a small circle out of felt (I used the outside of a spool of thread).
2. Cut a strip of chiffon, approximately 1/2" wide.
3. Starting from the outside, run a bead of hot glue. Using a twisting motion, glue down a little bit of chiffon at a time working your way to the middle.
4. Using your thread and needle, sew one stitch in the middle of the rosette. Your rhinestone will cover.
5. Hot glue your rhinestone in the center.
Cotton Rosette
1. Cut a square of felt and a strip of fabric, approximately 1" wide.
2. Fold the end of your fabric into a small triangle and hot glue in the center of the square.
3. Working your way from the center, twist and glue down the fabric in a circular pattern.
4. Once you are happy with the size, trim the felt down to the same size as your fabric rosette.
5. Tuck the end of your cotton fabric under the felt and glue it down.
6. Glue down the pearls in the center with hot glue.
7. Glue the chiffon rosette and cotton rosette to a hair clip.

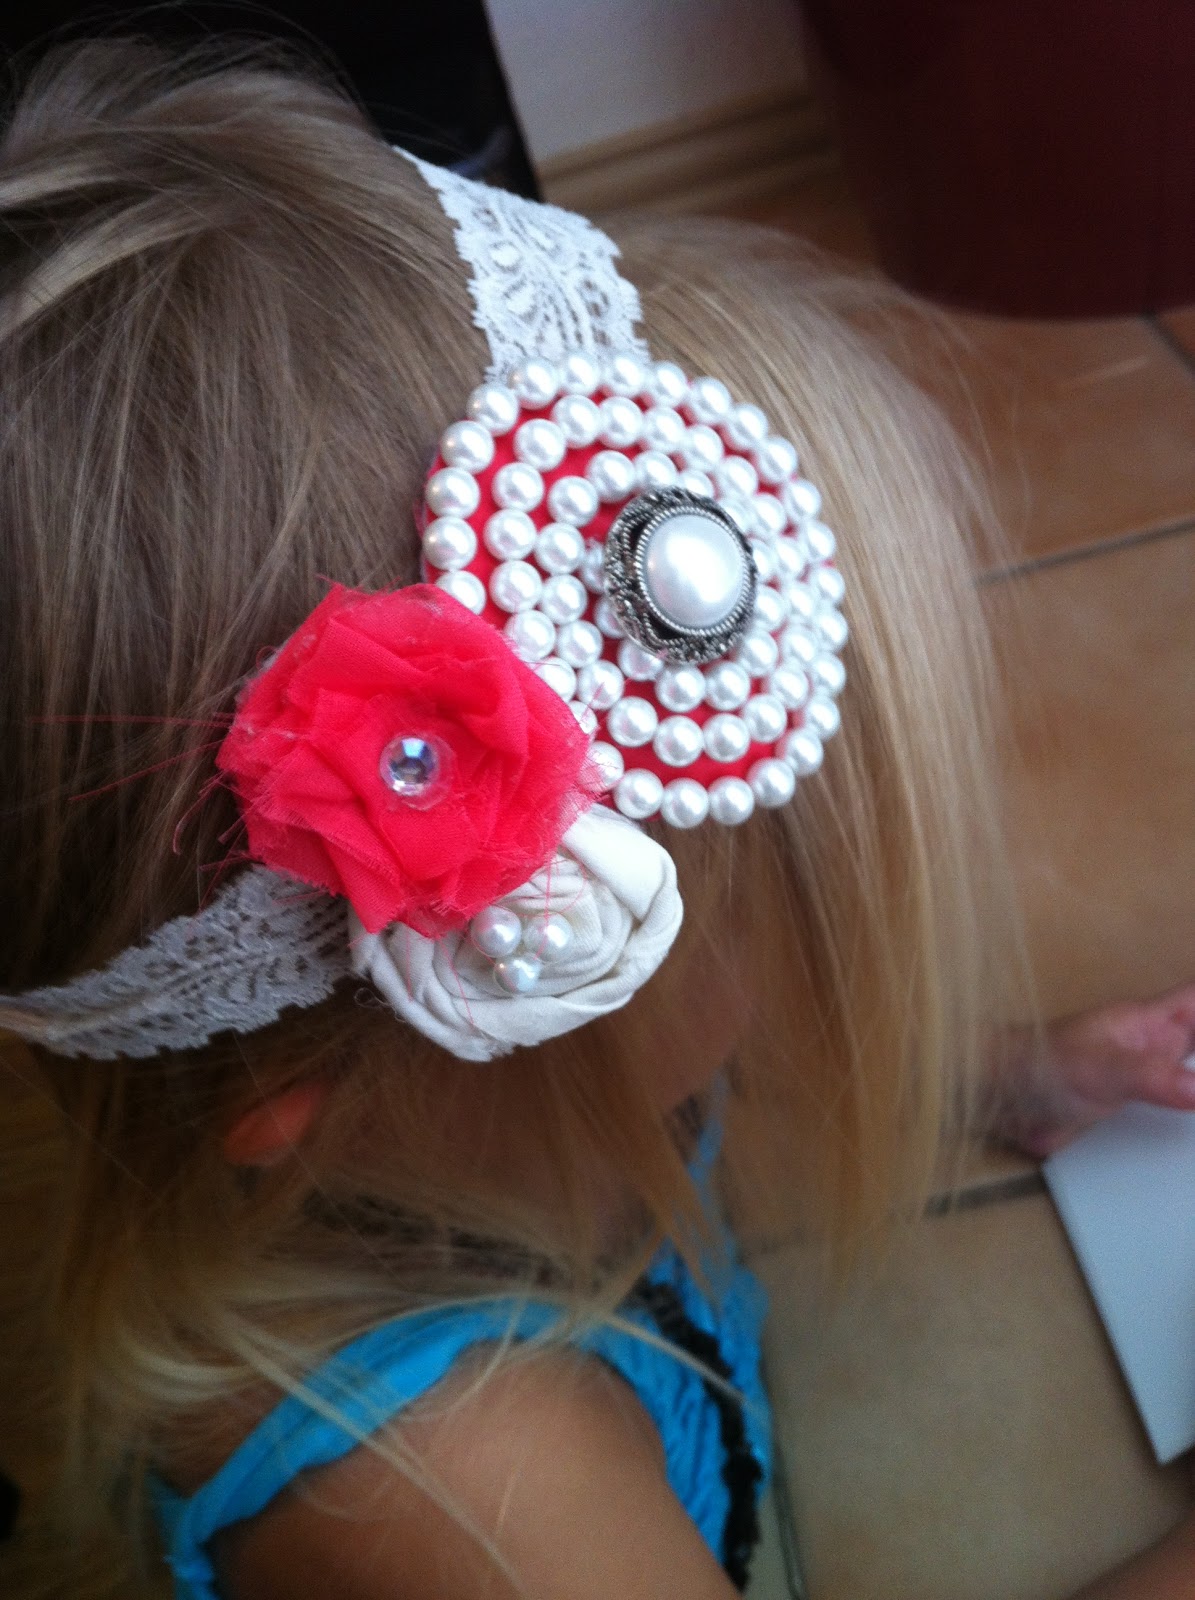
You can use these clips as regular hair clips or you can put them on the headband. Each of the three pieces can be used separately or all together. I loved how it turned out and can't wait for the real pics next weekend.
Don't forget - One lucky reader will win a $30 gift card to Target. All you have to do is follow my blog (click on the “Join my site” button under My Followers) and comment on one of my 30 day Pinterest Challenge posts. Each comment will get you one entry for the gift card…so comment one time or every day.

I absolutely need to do this for Emily!! That's awesome! :)
ReplyDeleteThanks! Ashley is doing some pictures of her tomorrow with the headband and a really cute lace romper :)
DeleteSo.Flippin.Cute. I have two boys, I gotta get me a girl!
ReplyDelete